How to Change and Existing Presentation’s Resolution

When you first create a presentation the resolution is either set, if created from a template, or chosen if you create your presentation from scratch. You may need to change the resolution of these presentations, such as if device resolution changes or you may wish to change the resolution of a template to better suit your needs. If you wish to alter the resolution of an existing presentation we recommend saving the presentation as a template and creating a new presentation from that template. Instructions on how to save an existing presentation as a template can be found here.


This will move around the existing widgets within the presentation, you will need to move and resize almost all widgets afterwards.


  1. From your Dashboard go to [Content] -> [Presentations]
  2. Click edit next to the presentation you would like to change the resolution of.
  3. To make reformatting after adjusting resolution easier, ‘Ignore Bounding’ should be enabled. To do this, click the single cog wheel titled ‘Editor Settings’ at the far right of the bottom toolbar.
  4. The new window that pops up will have a few different toggles for the editor. Click ‘Ignore Bounding’ so that it is On and click [OK] to save the setting. This will make it so that widgets can be outside of the bounds of the active screen. This will help with reformatting after the resolution is changed, especially if you reduce resolution size.
  5. In the top left click the single cog wheel icon named ‘Presentation Settings’
  6. A window will pop up. The bottom two text fields named ‘Width’ and ‘Height’ will need to be altered to create your new resolution.
    ResolutionWidthHeight
    720p1280720
    1080p19201080
    1440p25601440
    4k38402160
  7. Click [OK] to set your new resolution.
  8. You will need to adjust your presentation back to functionality, as things will likely be out of place.
  9. When you are finished, click the green [Push Live] button to update your presentations.

How do I force Chrome device display resolution?

The Google Admin console allows you to force the resolution and display scale of the internal or external display output for Chrome devices. This may be useful for hardware that doesn’t properly negotiate resolution with the Chrome device. It could also be useful in certain cases where you want to use a lower resolution than what the display is capable of displaying.

  1. After logging in to your Google Admin console, go to the Device Management section.
  2. On the left hand side navigation menu, go to Chrome > Settings > Device to access device settings.google admin display resolution
  3. Select the appropriate Organizational Unit (OU) on the left hand side that you would like to apply the settings to.
  4. Under the Device Settings tab, scroll down, or search for the Display settings heading.display resolution
    Allow user changesAllow users to overwrite predefined display settings (recommended): This allows a user to override these settings in desktop mode.
    Do not allow user changes for predefined display settings: This will not allow these settings to be changed by a user
    External resolutionAlways use native resolution: Use the auto-detected resolution
    Use custom resolution:
    Select this option if you want to force the Chromebox to output at a specified resolution for all external monitors.
    External display width (in pixels)Desired custom resolution width in pixels
    External display height (in pixels)Desired custom resolution height in pixels
    External display scale (percentage)Set a custom external display scale percentage
    Internal display scale (percentage)Set a custom internal display scale percentage


My devices show offline in Google Admin Console

My devices show offline in Google Admin Console

If your device status is Offline in the Google Admin console, typically the device does not have a reliable internet connection, or there is something blocking Google from checking the status of the device on your network.

Verify that there is no interference from a Content Filter or Firewall – The most common cause of an offline device, issues with content not showing, or problems pairing a device come from content filters or firewalls that interrupt communication with Arreya. Please follow our instructions for content filters and firewalls – https://arreya.com/kb/allow-past-firewall/

Known Issues

In early August 2020, Google acknowledged that there was a known issue with the Google Admin console and Chrome OS devices that caused the admin console to show devices as offline, when they were actually online and would respond to requests. This does not affect the devices or the functionality of Arreya. The Arreya dashboard status is still accurate in this case.

We will update this article with more information as it becomes available from Google.

How to fix your device when it shows “Waiting for application window…”

How to fix your device when it shows “Waiting for application window…”

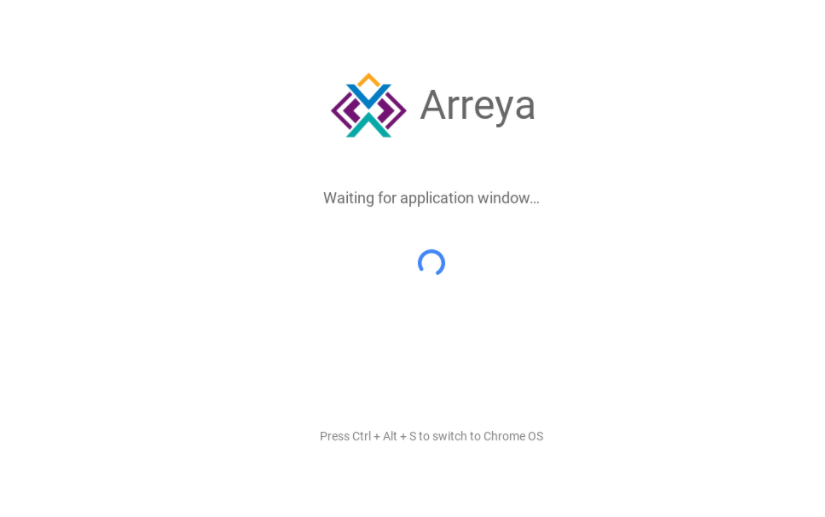
If you see your Arreya sign is showing a white background with the Arreya logo and “Waiting for application window…” below it, here are the steps you will need to take to get your sign working again and fix your device.

  1. Log into your Google Admin console by opening an Incognito Window and going to https://admin.google.com.
  2. Sign in with your Google Admin login credentials
  3. Go to Devices > Chrome devices
  4. Check the box to the left of the of the devices that are affected
  5. Click on the folder with an arrow in the upper right corner
  6. Move it to the “No App” Organizational Unit (OU) that you created when initially setting up your Admin console
  7. Reboot the device and take a screenshot once it is back on, make sure it says “No Policy Received”
  8. Once the device has that on the screen you are free to move your device back to the main OU that it started in
  9. Reboot it again and take another screenshot and you should see your device pairing code
  10. Once you have that code, enter it into the devices tab inside of your arreya channel to fix your device.  https://<yourchannelname>.arreya.com

Device status is offline

If your device status is OFFLINE, here are some possible causes and steps to resolve the issue –

  • Reboot the device
  • Try pressing the ‘refresh’ button for the device – From your dashboard, go to Management -> Devices, click [Refresh] next to the device that is offline.  If it returns to online, there may have been a temporary communication issue.
  • If you use Chrome Device Management – Log in to your Admin Console, navigate to the device, and look at the current status.  If the device is online, try capturing a screenshot or rebooting the device.
  • Verify that the internet is up and running – The most common cause of an offline device, is an issue with the internet connection.  Many ‘stable’ connections fluctuate throughout the day/week and you may see this reflected in the online/offline status as sporadic, short periods of offline status.
  • Verify that there is no interference from a Content Filter or Firewall – The second most common cause of an offline device, issues with content not showing, or problems pairing a device come from content filters or firewalls that interrupt communication with Arreya.  Please follow our instructions for content filters and firewalls – https://arreya.com/kb/allow-past-firewall/
  • Reboot the device