

Imagine your school buzzing with vibrant energy, a place where every student, teacher, and visitor feels instantly connected and informed. Picture hallways alive with dynamic displays of achievement and classrooms sparking with interactive learning. This isn’t just a futuristic dream—it’s the reality Arreya helps create with digital signage for education. For nearly 30 years, we’ve partnered with educational institutions like yours, witnessing the incredible transformation when the right digital signage solutions meet a human touch. Let’s explore how our easy digital signage software and custom digital displays can illuminate your education environment, fostering better student engagement and a stronger school community.
What is Digital Signage for Education, the Arreya Way?
At its heart, digital signage for education involves using digital screens—like brilliant LCDs, engaging LEDs, or intuitive interactive content displays—to share dynamic content. This can be anything from daily morning announcements, event schedules, and class schedules to inspiring educational content and collaborative lessons. But with Arreya, it’s so much more. It’s about making this powerful signage technology feel like a warm handshake, not a hurdle. It’s about providing an all-in-one cloud based software solution that empowers everyone in your school, regardless of technical skills, to create content and share messages that truly matter with just a few clicks. Our digital signage software is designed to be the perfect solution for busy school administrators and educators.
Why Digital Signage Makes a Heartfelt Difference in Educational Settings
Choosing Arreya for your school digital signage isn’t just about adopting new tech; it’s about embracing a warmer, more connected way of communicating and learning. We focus on outcomes that enrich your school’s spirit and improve communication efforts:
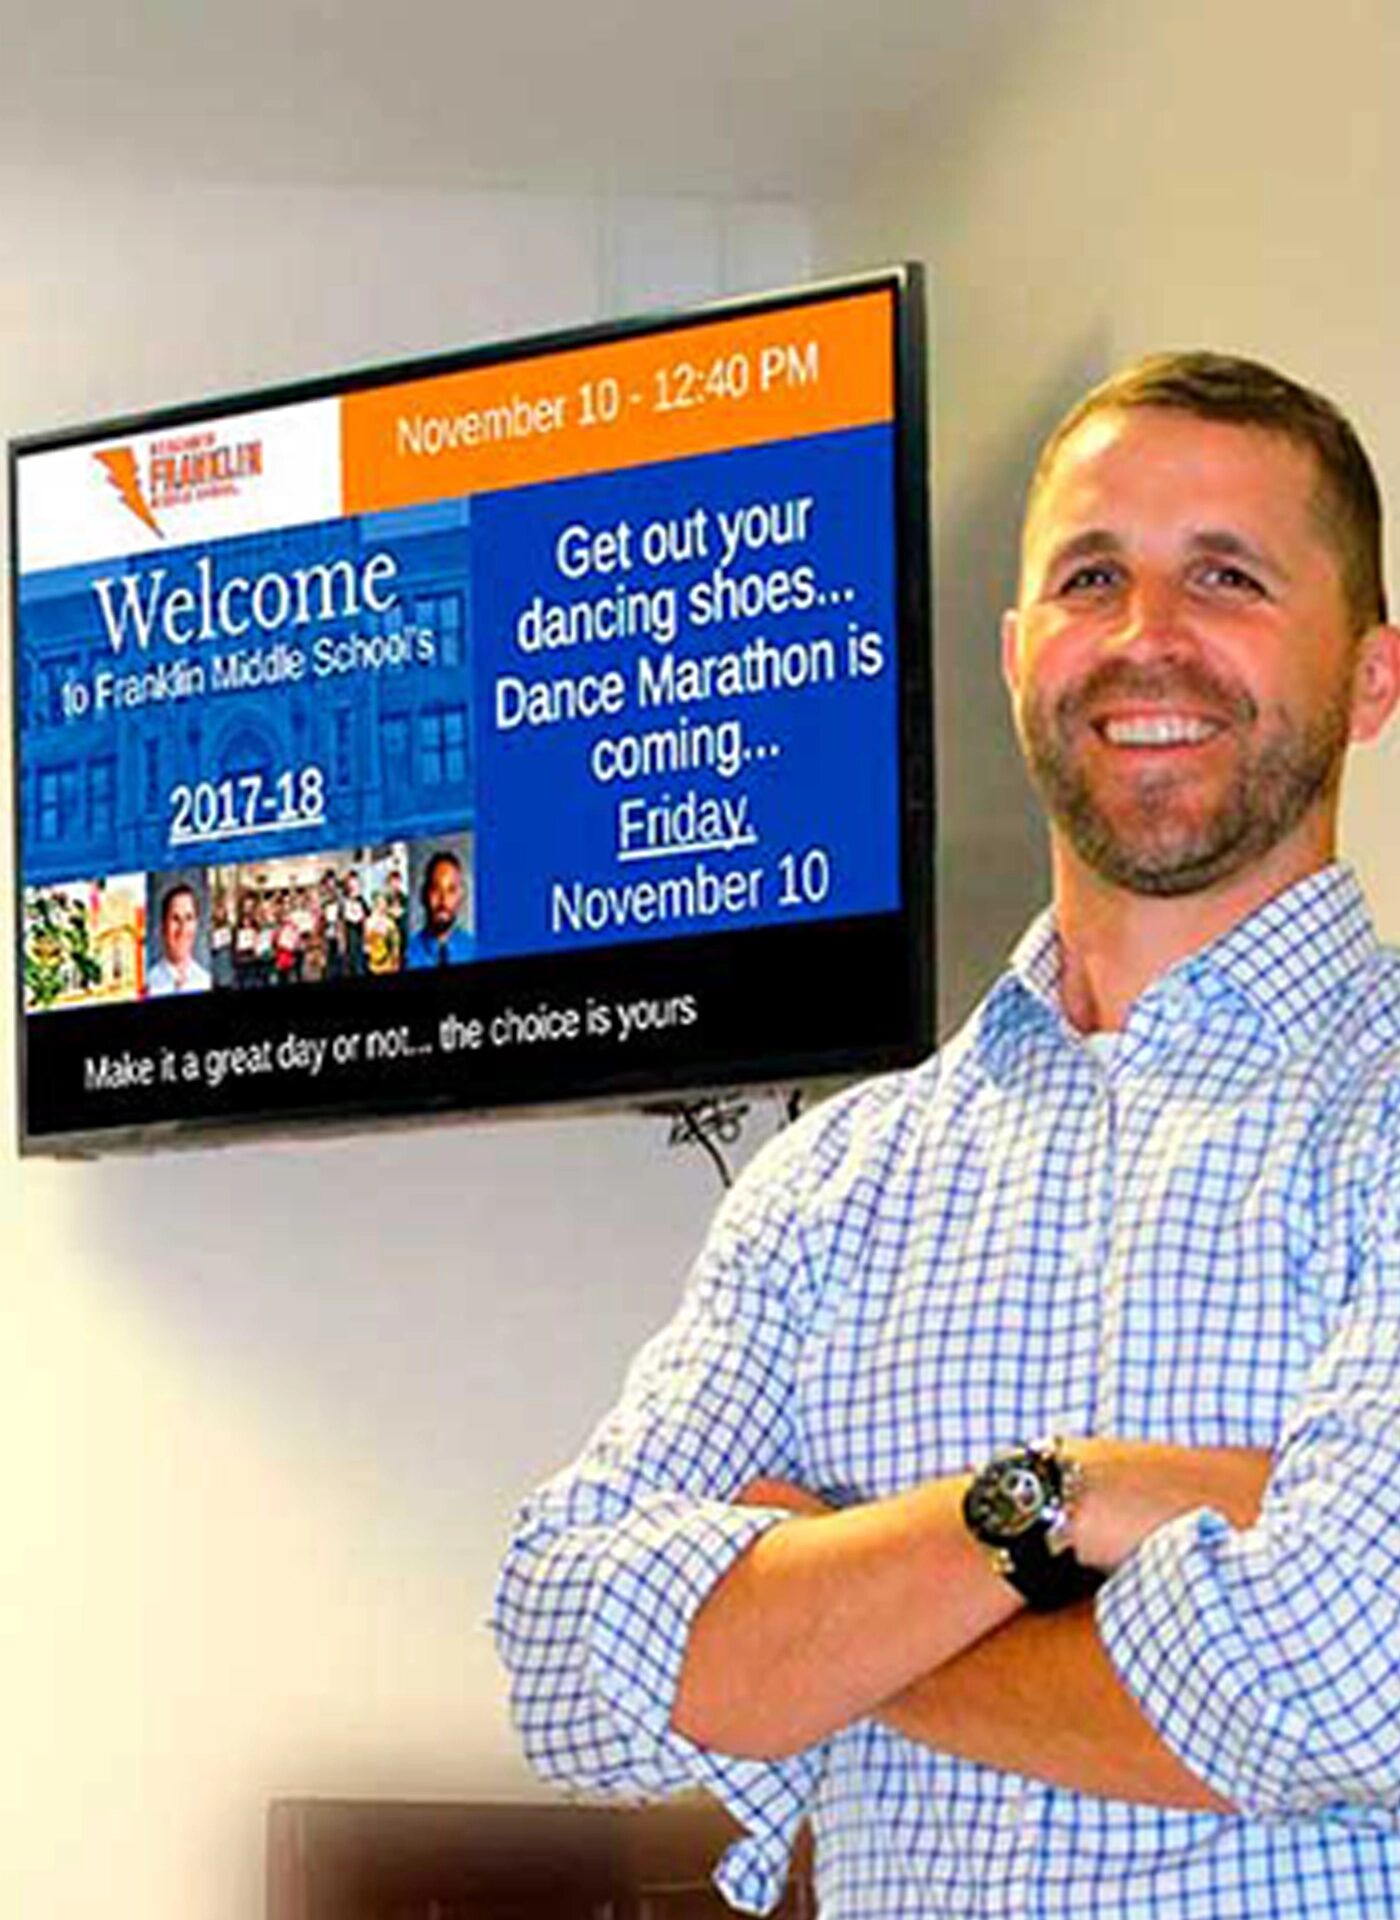
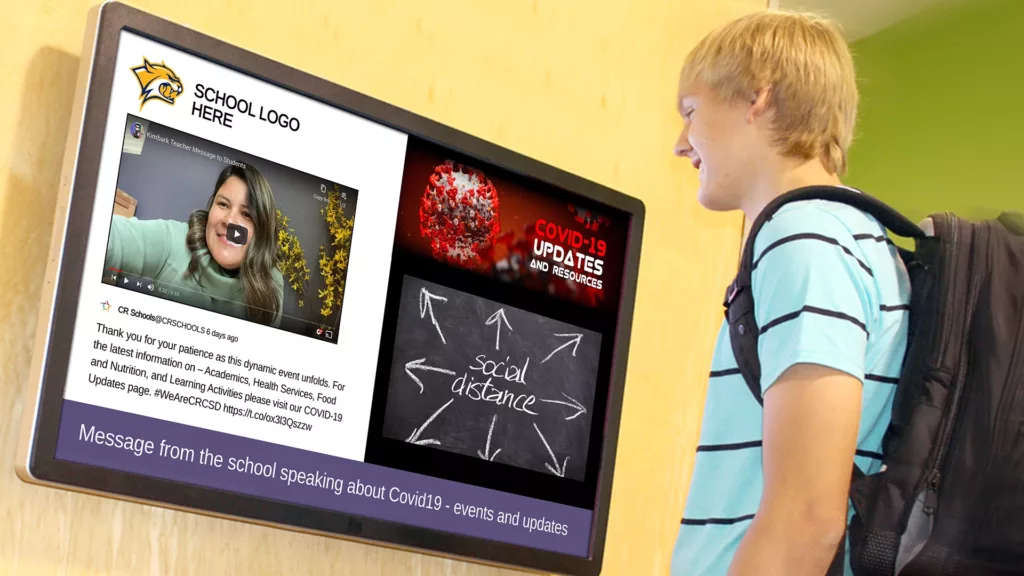
- Effortless Connection, Campus-Wide: Imagine sharing vital updates—changes to exam schedules, emergency alerts, or simple words of encouragement—across your entire campus instantly. Arreya’s cloud based software for digital signage systems ensures your important general announcements are shared efficiently. This keeps students, school staff, and visitors informed, fostering a cohesive school community without the delay of outdated methods. You can even display live news feeds or welcome messages for new students and visitors.
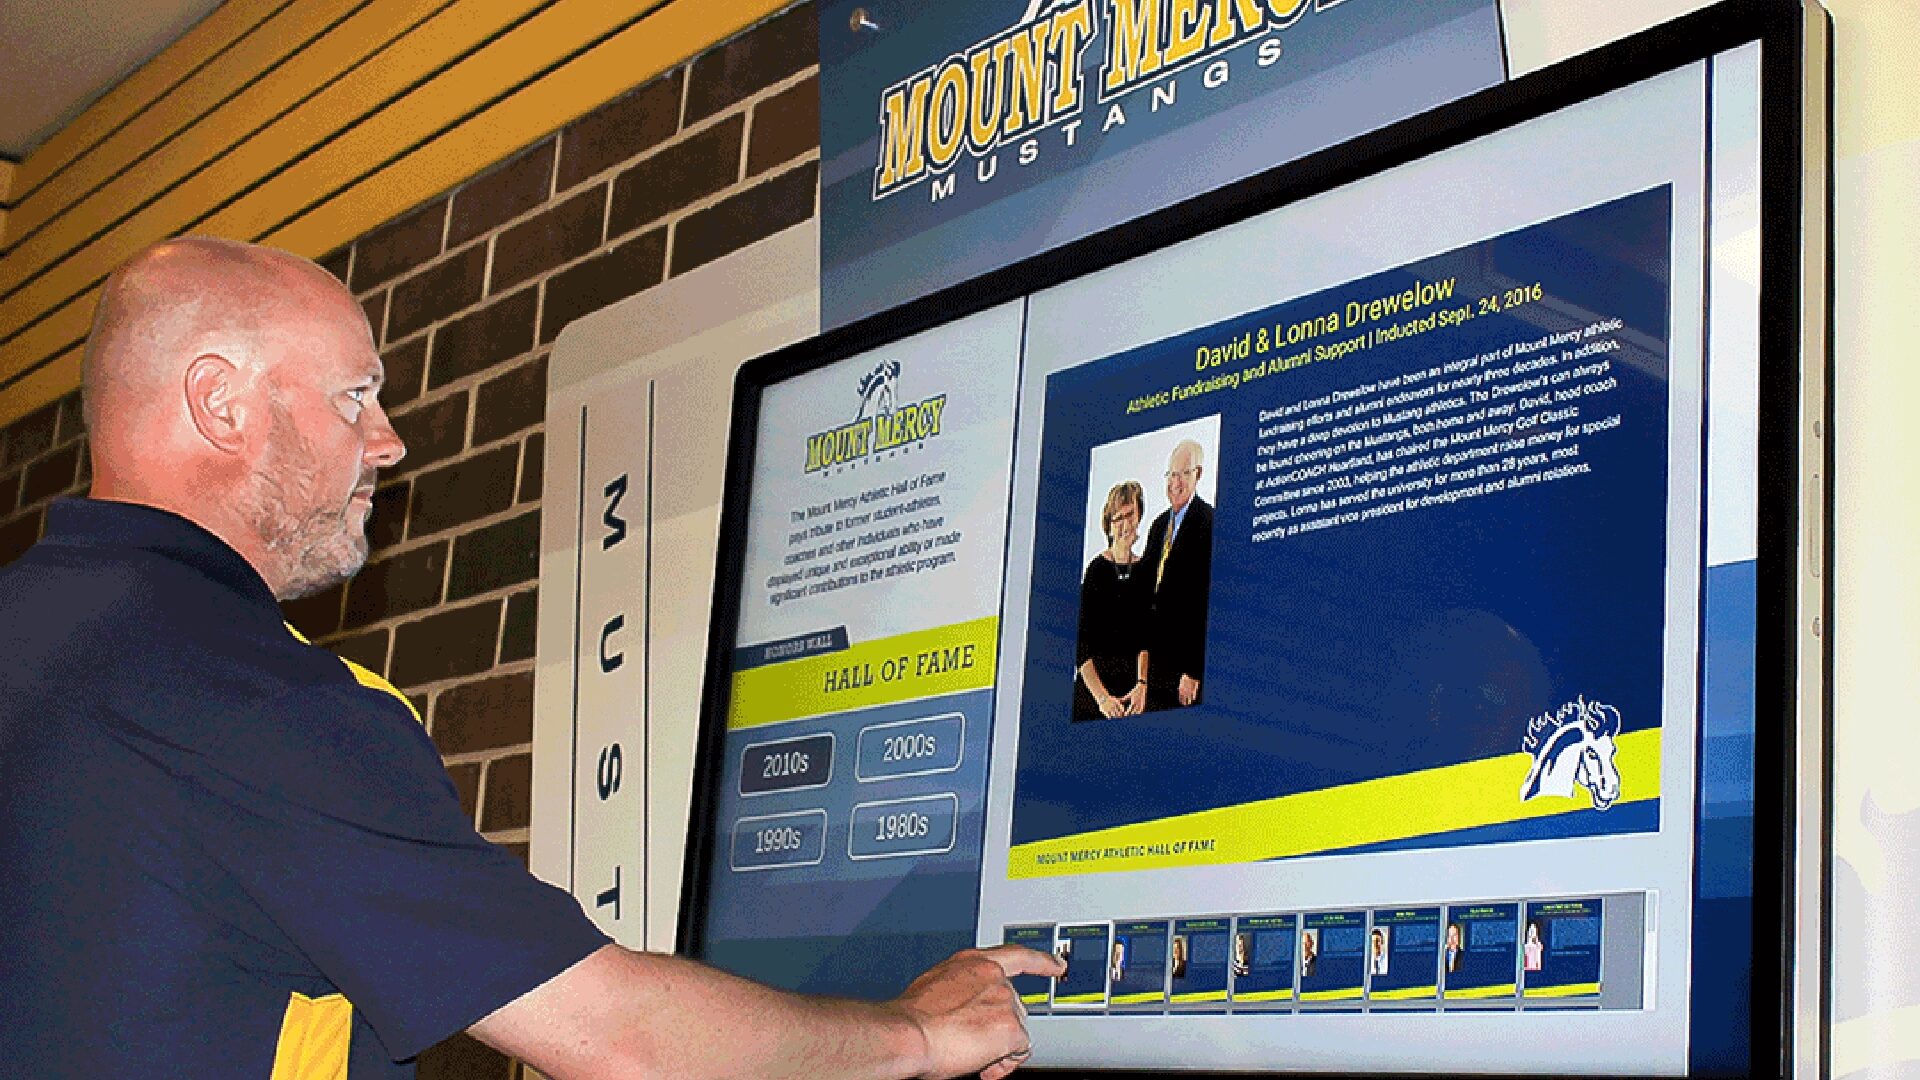
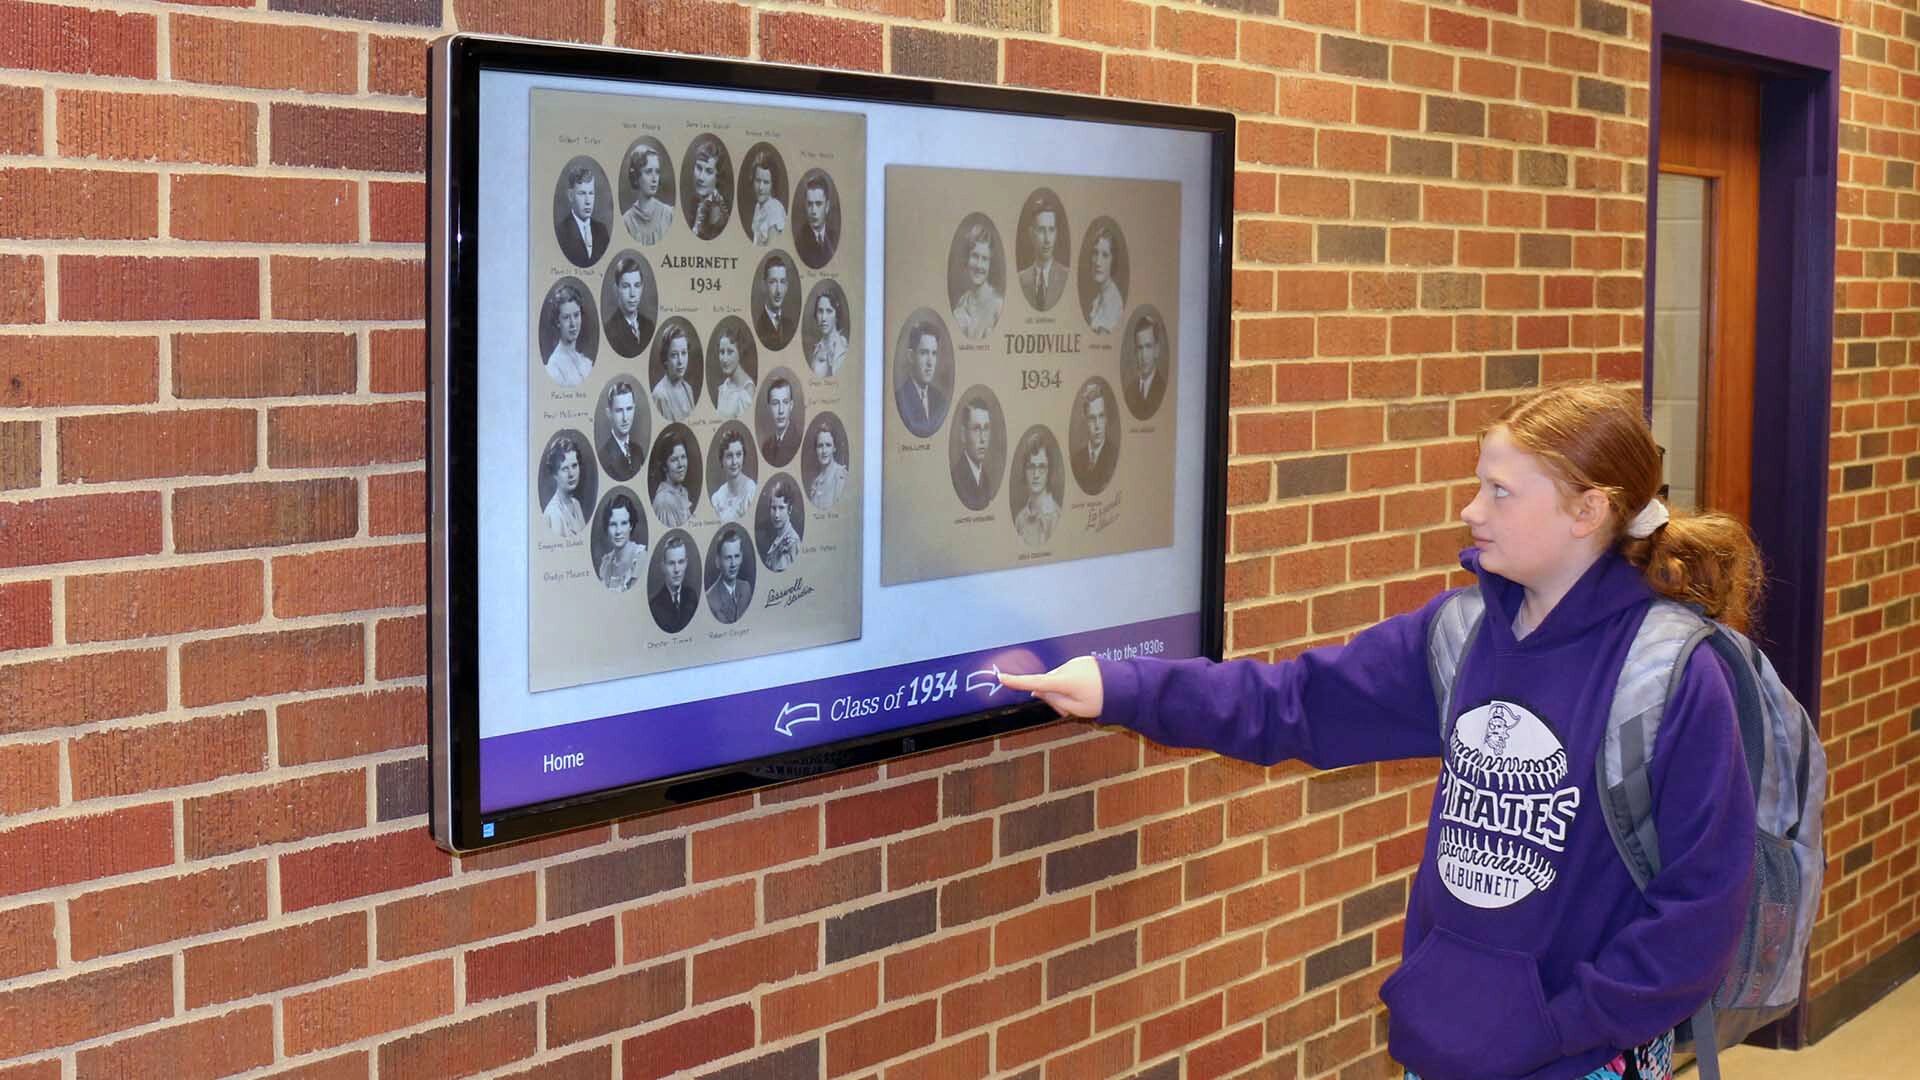
- Sparking Joy and Boosting Student Engagement: What if learning felt like an adventure? With Arreya’s interactive content capabilities, it can! Our Creative Studio, a key part of our digital signage software, makes it simple to design lessons where students can dive in, explore, and collaborate. Touch-enabled digital screens transform passive viewing into active participation, making digital signage for schools a true catalyst for curiosity and deeper understanding. Watch their smiles as your carefully crafted engaging content lights up the one screen or multiple digital signage screens across the campus. This is especially powerful for digital natives who thrive on interactive experiences.
- Simply Beautiful & Efficient Information Sharing: Tired of the endless cycle of printing that leads to paper waste? Arreya empowers you to manage all your digital signage content centrally. This means your information, from lunch menus with nutritional information to upcoming events, is always current and beautifully presented. This streamlined approach helps save money and resources while maintaining a professional look. Our easy management tools mean less time wrestling with logistics and more time focusing on students.
- Shining a Light on Your School’s Unique Story & School Spirit: Your school has a unique spirit and countless stories of achievement. Let them glow! Digital signs can beautifully showcase student work, spotlight events, or radiate your school’s core values. This isn’t just information; it’s an impactful visual experience that builds pride, fosters a deep sense of belonging, and strengthens school spirit. It’s also a fantastic way to attract prospective students by showcasing the vibrant life at your higher education institution or K-12 school.
Finding Your Perfect Fit: Types of Digital Signage Systems for Schools
Arreya offers a spectrum of digital signage for education options, tailored to your unique vision and needs. Because we offer both the digital signage software and custom hardware, including eye catching templates, everything you need is under one supportive roof:
- Interactive Displays That Invite Exploration: Our touchscreen digital signage solutions, powered by Arreya’s versatile software, transform digital screens into canvases for interactive content. Perfect for immersive lessons, group activities, or engaging presentations, they are the heart of the modern, connected classroom.
- Digital Bulletin Boards & Menu Boards: Your Campus Communicators: Placed in common areas, these digital signs deliver general announcements, lunch menus (as digital menu boards), or event schedules to a wide audience. Managed remotely via our cloud based software, they keep everyone in the loop effortlessly, ensuring relevant information is always accessible.
- Wayfinding Systems That Welcome and Guide: For larger higher education institutions or sprawling K-12 campuses, our digital wayfinding solutions offer clear, inviting maps and directories. This helps new students, staff, and visitors navigate with ease, reducing confusion and improving their overall experience.
Key Considerations for Implementing Digital Signage, Met with Arreya’s Support
Embarking on your digital signage journey is exciting! While there are practical points for implementing digital signage, Arreya is here to make it simple and cost-effective:
- A Smart, Heartfelt Investment: Arreya’s all-in-one platform offers incredible value. While there are upfront costs, the long-term benefits—like reduced paper waste, streamlined communication efforts, and the ability to schedule content effectively—make it a wise investment.
- Maintenance with a Friendly Face: Our platform is designed for reliability, and our personal, US-based tech support is always here. Easy management is a cornerstone of our digital signage systems.
- Content That Connects: Your Story, Beautifully Told: The magic of digital signage lies in fresh, relevant information and engaging content. With Arreya’s Creative Studio, even creating digital signage content for even seasonal greetings or daily morning announcements is a joy. Our software supports seamless integration of various media types and even live data feeds.
CONCLUSION: Ready to Illuminate Your School’s Future with the Best Digital Signage?
Digital signage for education is more than just a trend; it’s a practical tool that’s reshaping how educational institutions operate and connect. From improving how you display general announcements and serve important messages to sparking student engagement with educational content, its benefits are clear.
As a digital signage partner with nearly three decades of heart and innovation, we’ve been privileged to help schools like yours bring their visions to life. We believe our digital signage software is the best digital signage option because it’s built on simplicity, elegance, and a deep understanding of the needs of the school community.
Ready to explore how Arreya’s digital signage for schools can transform your campus? Let’s make important messages resonate and creativity flourish. We’re here to help you start today—your journey to more engaging content and a more connected school begins with just a few clicks.